Blog posts tagged with 'off road accessories'

How to Build a Budget Off-Road Truck That Actually Performs

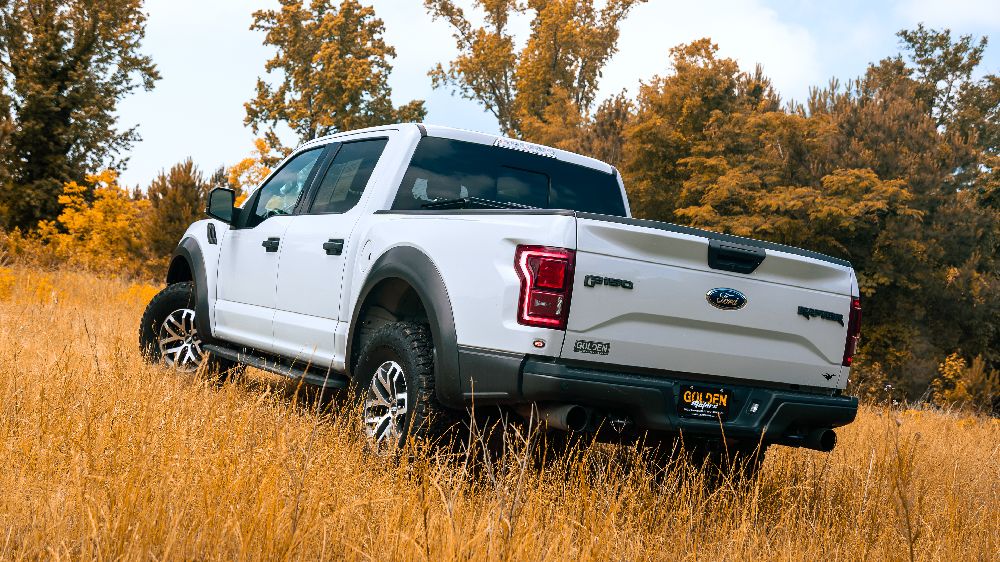
Building an off-road truck doesn’t have to drain your wallet. While it’s easy to get caught up in big-ticket suspension systems and high-end accessories, you can create a capable, reliable, and fun trail truck without spending a fortune.

Whether you’re starting with a stock pickup or an SUV, the key is to prioritize upgrades that deliver real performance gains instead of cosmetic ones. This guide will show you how to stretch your budget and still build a truck that can hang with the big builds on the trail.


What You’ll Learn in This Guide

In this article, we’ll cover:

  • The core upgrades that make a real difference off-road.

  • How to save money without sacrificing performance or reliability.

  • Budget ranges for each major modification.

  • Tips for choosing the right parts the first time to avoid wasting cash.

By the end, you’ll know how to build a budget-friendly off-road truck that performs far better than stock—without breaking the bank.


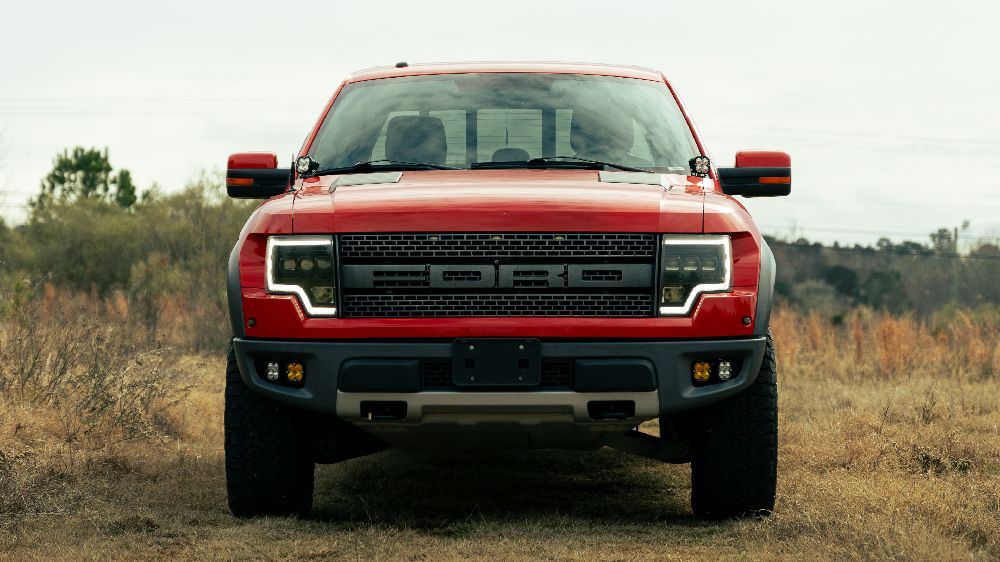
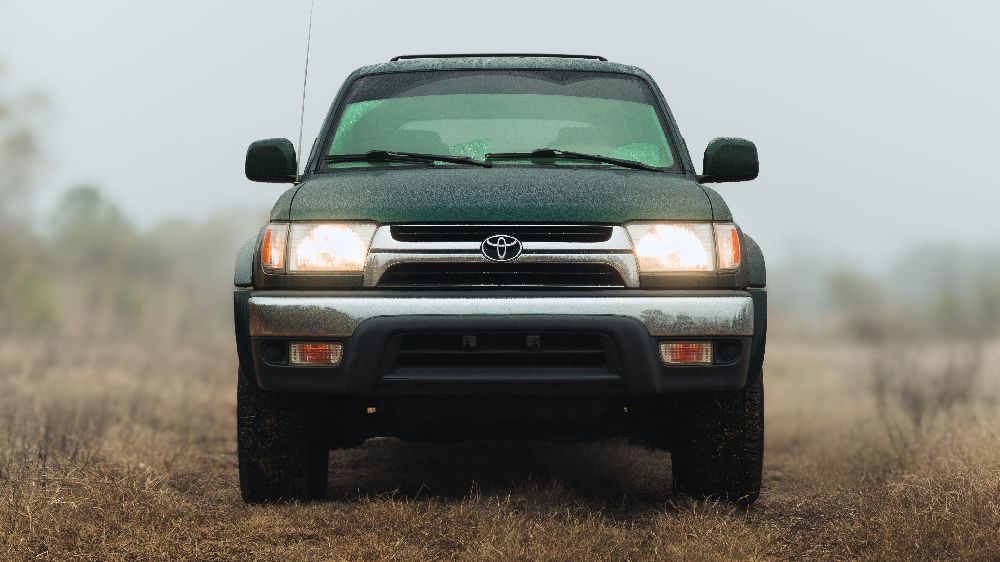
1. Start with the Right Platform

The truck or SUV you start with makes a huge difference in how far your budget will go.

  • Utility: Look for something reliable with strong aftermarket support (Toyota Tacoma, Jeep Cherokee, Ford Ranger, etc.).

  • Aesthetics: Older models often have character and are easier to customize.

  • Pricing: $5,000–$15,000 for a solid used base vehicle.

  • Pro Tip: Avoid rust buckets or trucks with frame damage—they’ll cost more in the long run than buying clean.

Start with something simple and durable—you’ll thank yourself later.


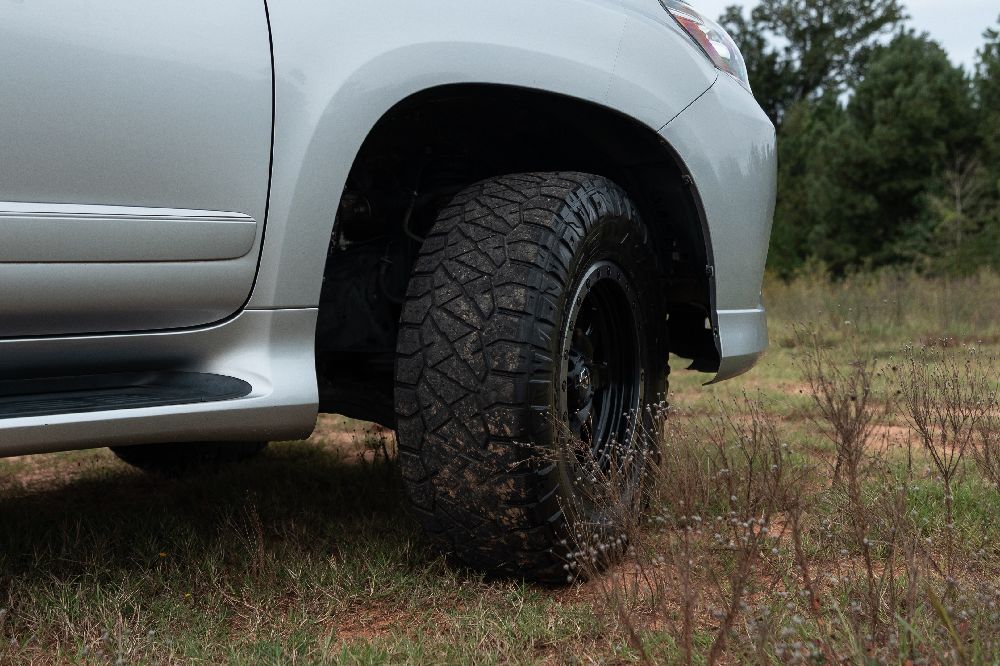
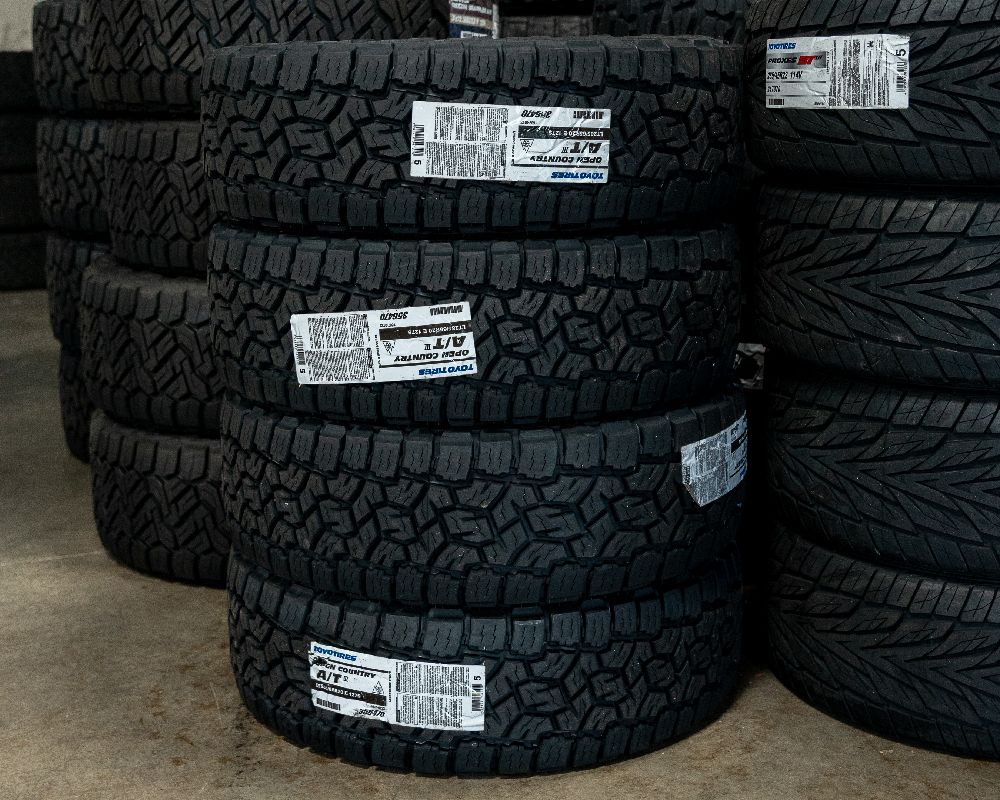
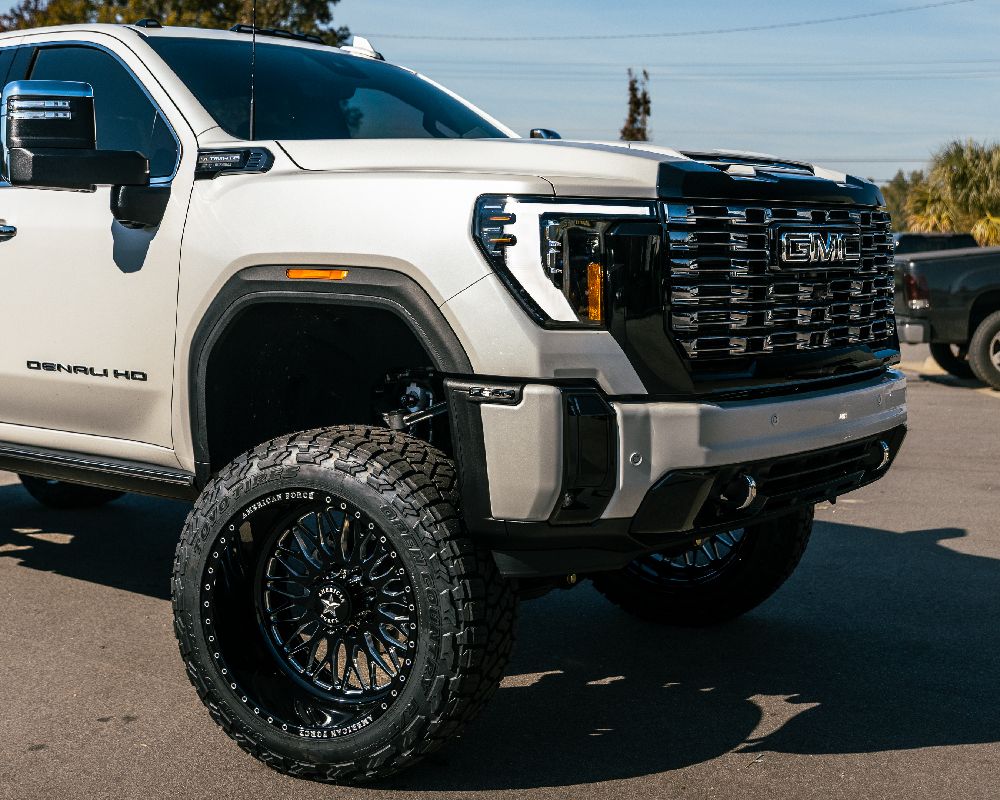
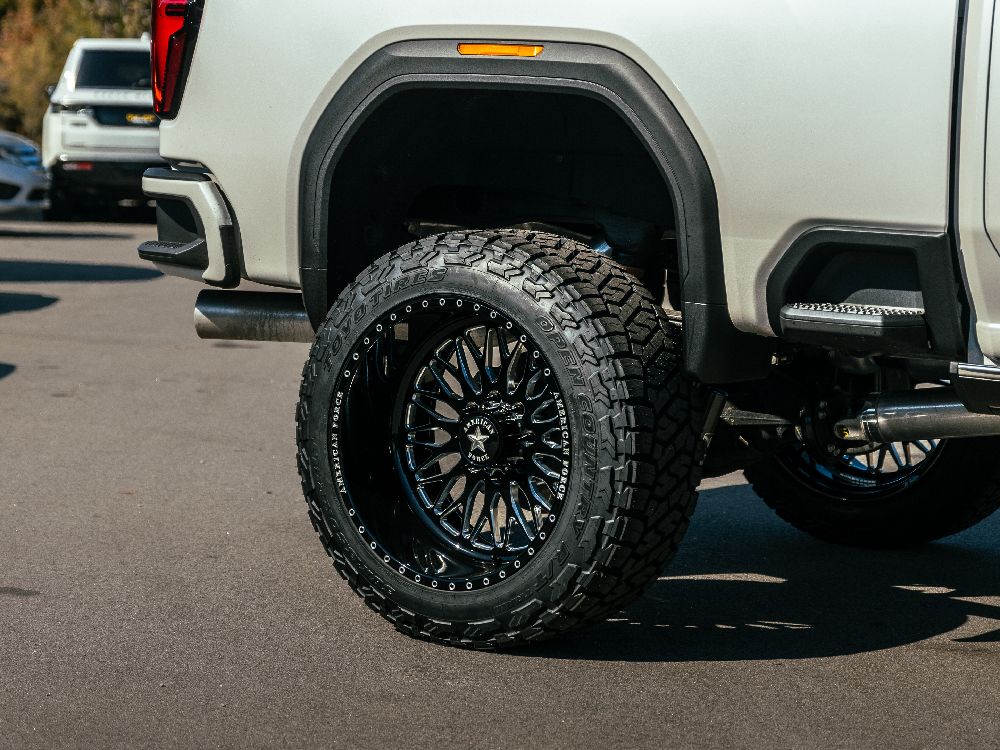
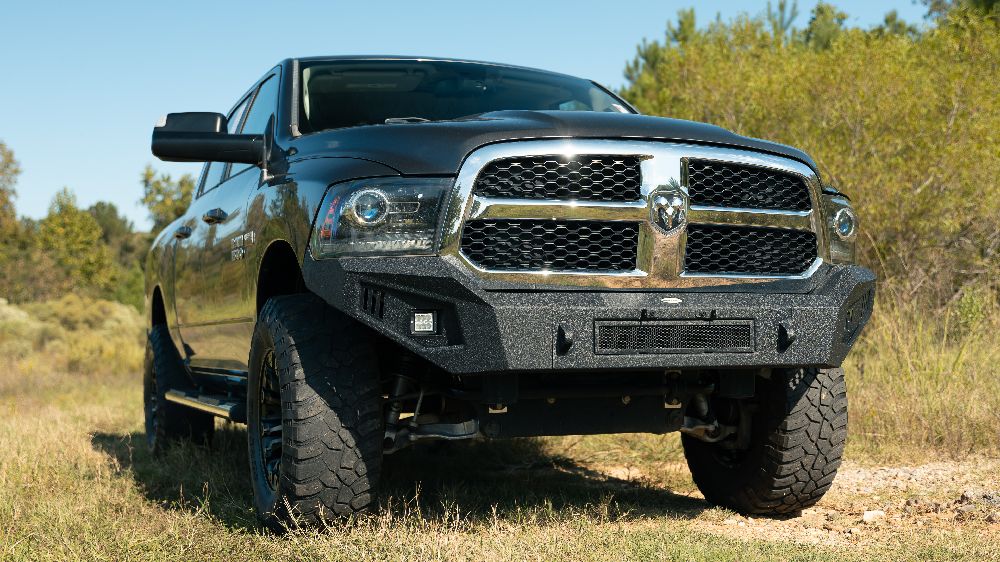
2. Tires First, Always

Nothing improves off-road performance faster than a set of all-terrain or mud-terrain tires.

  • Utility: Tires provide traction, clearance, and sidewall protection—your truck’s first line of defense.

  • Aesthetics: Instantly makes any truck look more capable.

  • Pricing: $800–$1,500 for quality A/T or M/T tires.

  • Pro Tip: Stick with a common tire size to keep costs down and availability high.

Tires are your most cost-effective upgrade, hands down.


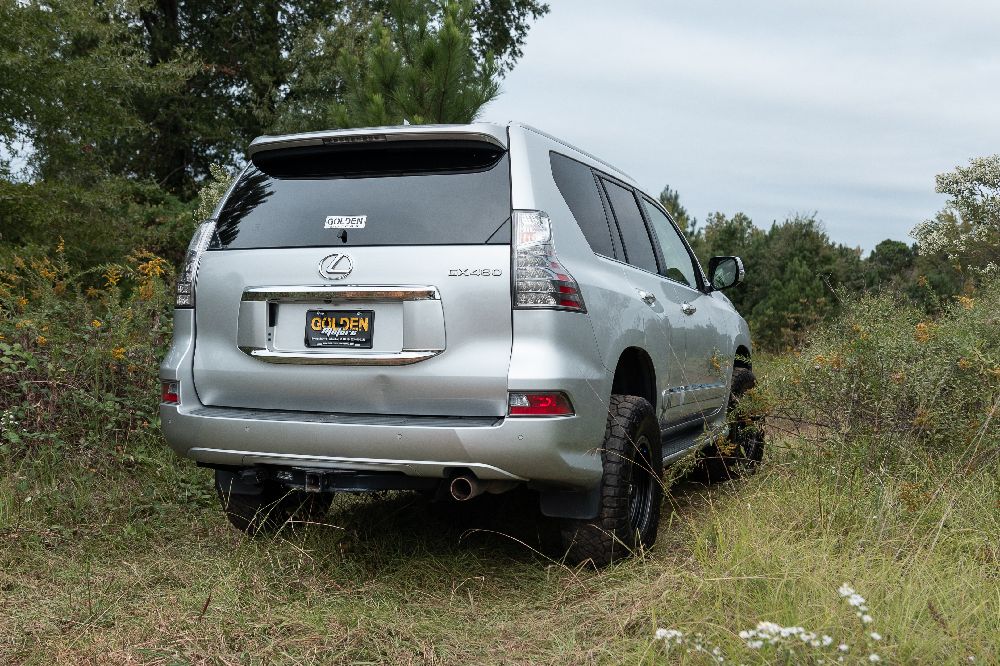
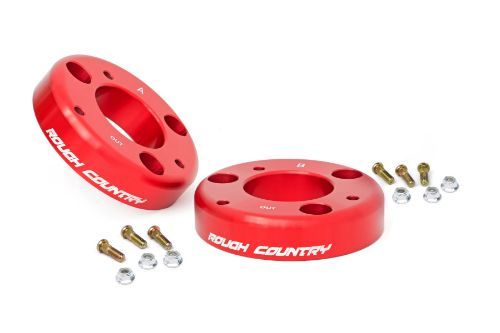
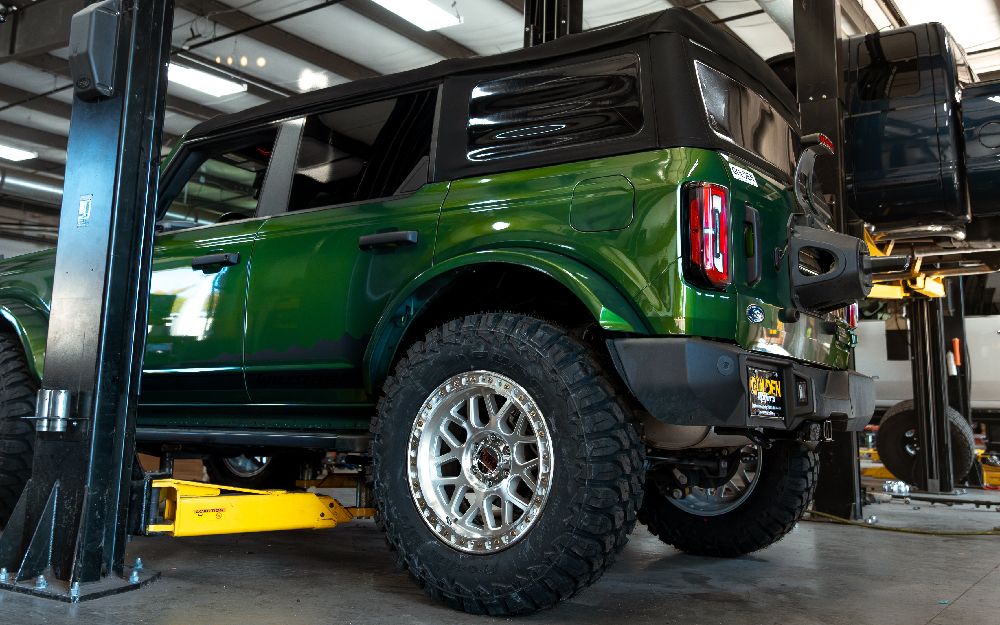
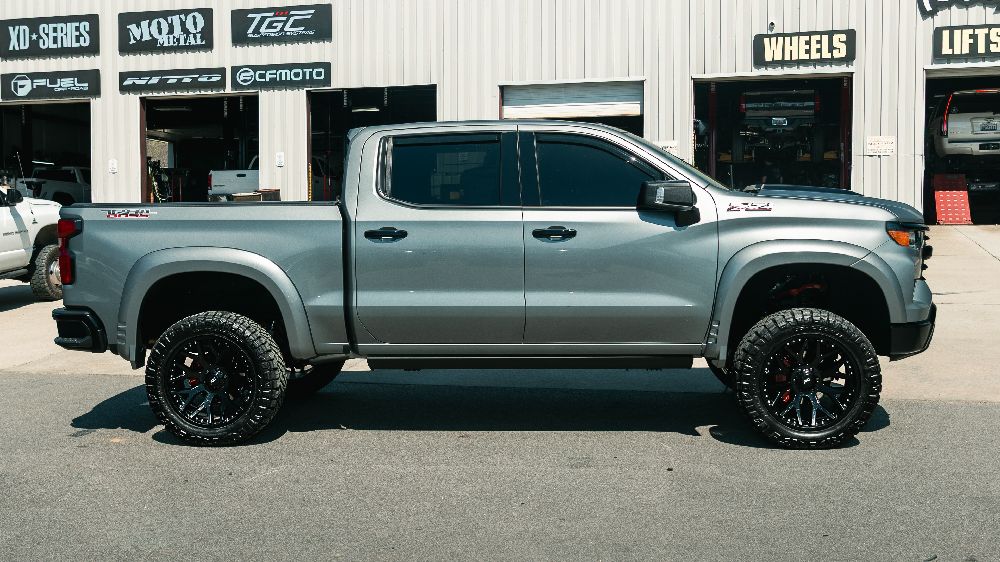
3. Go for a Budget Lift or Leveling Kit

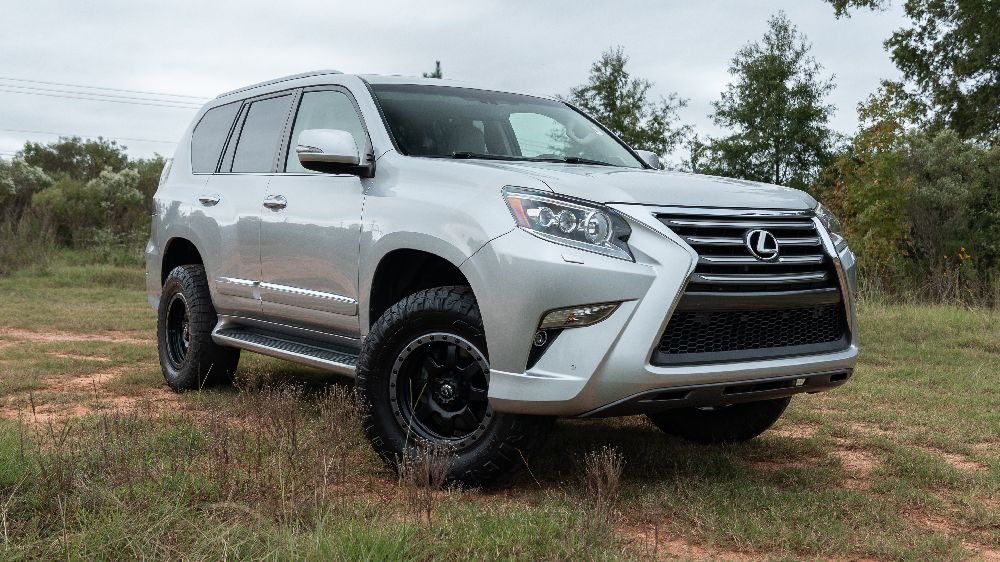
You don’t need an expensive suspension system to get started.

  • Utility: Adds ground clearance and room for larger tires.

  • Aesthetics: Gives your truck the lifted look without the full price tag.

  • Pricing: $150–$400 for a leveling kit; $1,000+ for entry-level suspension lifts.

  • Pro Tip: Focus on ride quality and alignment after install—cheap kits can cost more if installed incorrectly.

A modest lift gives you real off-road benefits without emptying your wallet.


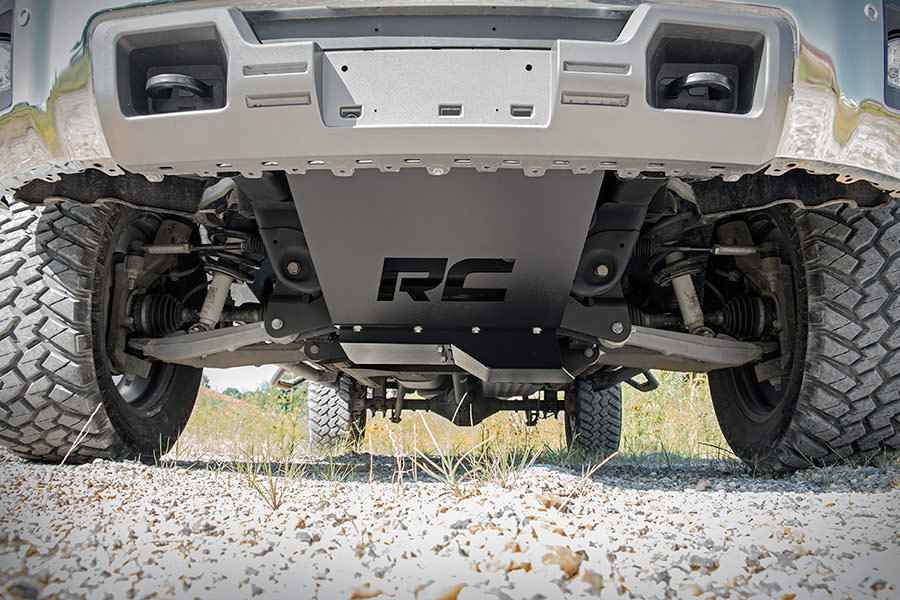
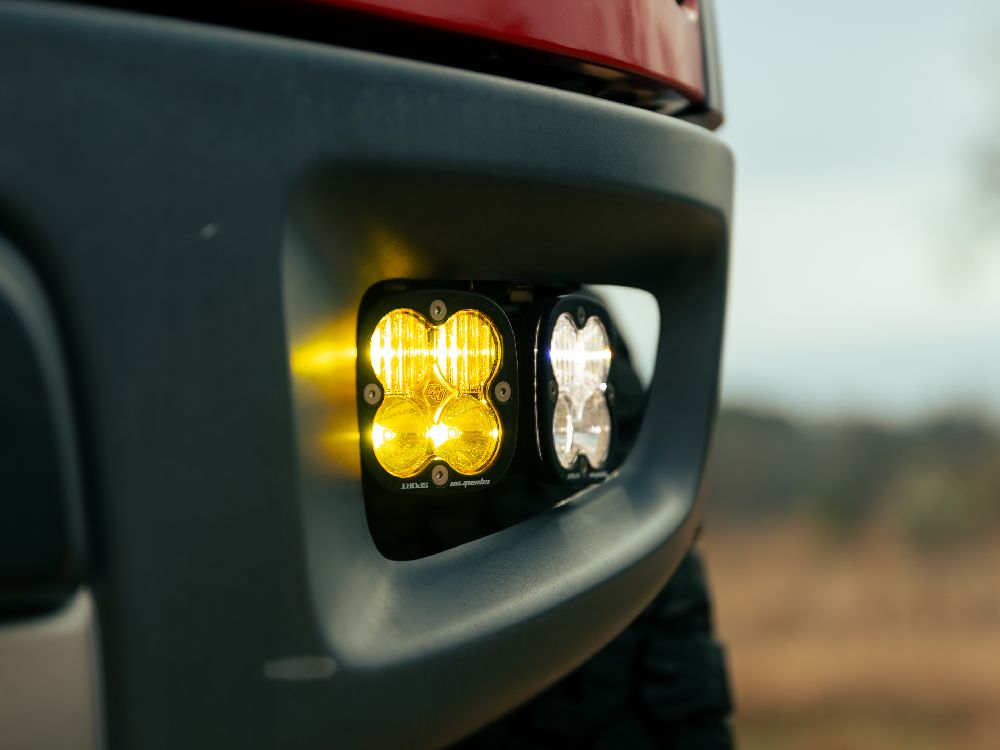
4. Add Basic Armor and Protection

Trail damage is expensive—protecting your undercarriage is not.

  • Utility: Skid plates, diff covers, and rock sliders prevent damage to vital components.

  • Aesthetics: Adds a rugged, purpose-built look.

  • Pricing: $200–$600 depending on coverage.

  • Pro Tip: Install armor in stages—start with the most vulnerable areas first, like the oil pan or transfer case.

Protection parts pay for themselves the first time you hear a rock scrape.


5. Build a Simple Recovery Kit

Getting stuck is inevitable, but recovery gear doesn’t have to be fancy or expensive.

  • Utility: A tow strap, shackles, and traction boards can solve 90% of stuck situations.

  • Aesthetics: Doesn’t change your truck’s look but adds major peace of mind.

  • Pricing: $100–$300 for a starter kit.

  • Pro Tip: Add a budget winch later if you frequently off-road alone.

Preparedness is part of performance—and it doesn’t have to cost much.


6. Focus on Maintenance and Reliability

No lift or tire upgrade matters if your truck can’t finish the trail.

  • Utility: Fresh fluids, new filters, and strong belts and hoses ensure dependability.

  • Aesthetics: Clean, well-maintained builds look better and last longer.

  • Pricing: $100–$300 in preventive maintenance goes a long way.

  • Pro Tip: Check torque specs after every trail day—bolts loosen faster off-road.

Maintenance is the cheapest “upgrade” that keeps your truck performing its best.


Building a capable off-road truck on a budget isn’t about cutting corners—it’s about making smart choices. Focus on tires, lift, protection, and recovery gear before splurging on cosmetic mods, and you’ll have a truck that performs far beyond its price tag.

👉 At our shop, we offer affordable off-road parts, tire packages, recovery gear, and lift kits to help you start your build the right way—without breaking your budget.

Comments (0) details

5 Common Off-Road Mistakes Beginners Make (And How to Avoid Them)

Off-roading is one of the most rewarding hobbies you can get into. The mix of adventure, challenge, and freedom makes it addictive—but it also comes with risks if you’re not prepared. Every experienced driver has made a few rookie mistakes on the trail, but learning from them early can save you time, money, and even your vehicle.

This guide breaks down five of the most common mistakes new off-roaders make—and how you can avoid them to keep your adventures safe, smooth, and fun.


What You’ll Learn in This Guide

In this article, you’ll learn:

  • The top five beginner mistakes that can damage your truck or ruin your trip.

  • How to properly prepare your vehicle and gear for off-roading.

  • Why overconfidence and lack of maintenance cause the most trail trouble.

  • Practical tips to prevent costly breakdowns and keep your rig reliable.

By the end, you’ll know how to hit the trail with confidence—and avoid the mistakes that most new off-roaders make.


1. Forgetting to Air Down Tires

One of the easiest and most common mistakes beginners make is running full tire pressure off-road.

  • Why It’s a Problem: Fully inflated tires reduce traction, increase the chance of punctures, and make the ride harsher.

  • The Fix: Air down to around 15–20 PSI for most trails (or lower for sand). Just don’t forget to bring a portable air compressor for the trip back.

  • Pro Tip: Invest in a tire deflator kit—fast, simple, and a game-changer for traction.


2. Ignoring Vehicle Maintenance

Trail trouble often starts long before you leave the pavement.

  • Why It’s a Problem: Worn fluids, loose bolts, and weak suspension components can fail under off-road stress.

  • The Fix: Perform a pre-trip inspection—check fluids, brakes, suspension, and torque key bolts.

  • Pro Tip: Schedule regular maintenance if you off-road frequently; it’s cheaper than trailside repairs.


3. Driving Too Fast

Speed might feel thrilling—but it’s one of the quickest ways to break something.

  • Why It’s a Problem: Hitting obstacles too fast can bend control arms, blow shocks, or damage tires.

  • The Fix: Drive slow and steady. Crawl over obstacles; don’t power through them.

  • Pro Tip: Use low-range gearing whenever possible. It gives you more torque and better control.


4. Skipping Recovery Gear

Getting stuck is part of off-roading—but being unprepared is optional.

  • Why It’s a Problem: Without recovery gear, one small mistake can turn into hours of waiting.

  • The Fix: Always carry a basic recovery kit—tow straps, shackles, traction boards, and a shovel.

  • Pro Tip: Add a winch if you wheel solo. It’s the ultimate self-recovery tool.


5. Overestimating Your Vehicle (and Yourself)

Confidence is good. Overconfidence breaks things.

  • Why It’s a Problem: Many new drivers underestimate how tough terrain can be—or overestimate their truck’s clearance and traction.

  • The Fix: Learn your limits. Start with easy trails and work your way up. Know your vehicle’s clearance, approach, and departure angles.

  • Pro Tip: Go with experienced friends or join a local off-road club—you’ll learn faster and safer.


Final Thoughts

Off-roading isn’t just about having the right parts—it’s about having the right mindset. The best drivers know their rigs, respect the terrain, and come prepared. Avoid these five beginner mistakes, and you’ll save your truck (and your wallet) from unnecessary damage while enjoying every trip with confidence.

👉 At our shop, we stock the essentials that keep you prepared—air compressors, recovery gear, skid plates, and off-road accessories—so you can explore with peace of mind and never get caught off guard on the trail.

Comments (0) details

All-Terrain vs. Mud-Terrain Tires: Which Is Better for Overlanding?

When it comes to overlanding, your tires are one of the most important choices you’ll make. They determine not only how well your vehicle performs off-road, but also how comfortable and efficient it is during long highway stretches between destinations.

Two tire types dominate the conversation: all-terrain (A/T) and mud-terrain (M/T). Both have their strengths, but they serve different purposes. If you’re planning an overland trip, choosing the right one can mean the difference between a smooth adventure and a stressful slog.

Let’s break down the pros and cons of each and help you find the perfect setup for your build.


What You’ll Learn in This Guide

In this article, we’ll cover:

  • How all-terrain and mud-terrain tires differ in design and performance.

  • The advantages and drawbacks of each for overlanding and mixed-use driving.

  • Key factors like tread wear, noise, comfort, and fuel economy.

  • Recommendations for who should choose which tire type.

By the end, you’ll know exactly which tire suits your overlanding setup best.


All-Terrain Tires: The Balanced Performer

All-terrain tires are built for drivers who split time between pavement and dirt. They’re designed to handle mild off-road terrain while remaining quiet and comfortable on the highway.

  • Utility: Excellent for long-distance travel where you’ll see a mix of pavement, gravel, and light trails.

  • Aesthetics: Rugged tread gives your vehicle a capable look without going overboard.

  • Performance: Great traction on dirt and gravel; adequate in light mud and sand.

  • Comfort: Quieter and smoother on pavement, ideal for long road days.

  • Tread Life: Typically lasts longer due to a harder rubber compound.

Best for: Daily-driven trucks and SUVs that spend 70–80% of their time on-road but still need trail capability.


Mud-Terrain Tires: The Off-Road Specialist

Mud-terrain tires are built for maximum grip in the toughest off-road environments—deep mud, rocks, and sand.

  • Utility: Superior traction in wet, muddy, or rocky conditions.

  • Aesthetics: Aggressive tread and sidewall lugs give a true off-road look.

  • Performance: Excellent in mud and loose terrain but can feel rough on pavement.

  • Comfort: Louder and stiffer on the highway compared to all-terrains.

  • Tread Life: Softer compounds mean faster wear, especially on long road trips.

Best for: Dedicated off-road builds or overlanders who explore rugged, remote trails where traction matters most.


Overlanding Tire Comparison

FeatureAll-Terrain TiresMud-Terrain Tires
Traction (Dirt/Gravel)ExcellentExcellent
Traction (Mud/Sand)ModerateSuperior
Road NoiseQuietLoud
ComfortSmoothRougher ride
Fuel EconomyBetterWorse
Tread LifeLongerShorter
Best ForDaily drivers and mixed terrainRemote trails and extreme terrain

Choosing the Right Tire for Your Overland Rig

When deciding between A/T and M/T tires, think about where you’ll spend most of your time.

  • Mostly Pavement and Light Trails: Go with all-terrain tires. They’re efficient, quiet, and last longer—perfect for long road trips and mild trails.

  • Rough Trails and Technical Terrain: Mud-terrains are worth the trade-off. They offer unbeatable grip and toughness for backcountry travel.

  • Balanced Builds: Some overlanders keep two sets—A/Ts for daily use and M/Ts for serious trips. It’s more expensive but ensures the best of both worlds.


Find What Works for You

There’s no one-size-fits-all answer to the A/T vs. M/T debate. For overlanding, all-terrains often make the most sense due to their versatility, longevity, and comfort on long drives. But if your adventures take you deep into rugged, muddy, or rocky territory, mud-terrains deliver the grip and confidence you’ll need.

👉 At our shop, we carry a full lineup of all-terrain and mud-terrain tires from the top off-road brands—so whether your overland trips stick to gravel roads or push deep into the wild, we’ve got the perfect tires to get you there and back safely.

Comments (0) details

How to Improve Ground Clearance Without Sacrificing Ride Quality

For off-road enthusiasts, more ground clearance is always a good thing. The higher your truck sits, the easier it is to clear rocks, ruts, mud, and obstacles. But while bigger lifts and massive tires can give you that clearance, they often come at a cost—harsher ride quality, worse handling, and even extra wear on suspension components.

The good news? You don’t have to sacrifice comfort to get the clearance your build needs. With the right upgrades, you can balance off-road performance with a smooth ride.


What You’ll Learn in This Guide

In this article, we’ll cover:

  • The most effective ways to increase ground clearance on a truck.

  • How different upgrades affect your ride quality and drivability.

  • The pros and cons of lift kits, larger tires, and suspension mods.

  • Tips to keep your truck comfortable while still trail-ready.

By the end, you’ll know how to strike the perfect balance between off-road capability and everyday comfort.


Option 1: Leveling Kits

A leveling kit adds 1–2 inches of lift to the front of your truck, eliminating the factory rake.

  • Ground Clearance: Small bump in height, enough for slightly larger tires.

  • Ride Quality: Minimal change to ride feel, especially if paired with quality shocks.

  • Cost: Affordable ($100–$300), and often DIY-friendly.

Perfect for daily drivers that want a subtle lift and more clearance without stiffening the ride.


Option 2: Suspension Upgrades

Suspension lift kits are the most effective way to raise a truck for real off-road use.

  • Ground Clearance: 2–6+ inches, depending on kit.

  • Ride Quality: Quality kits with upgraded shocks (like monotube or coilover systems) actually improve comfort and handling. Cheap kits, however, can make the ride bouncy or harsh.

  • Cost: $1,000–$5,000+ installed, depending on complexity.

If you want both clearance and comfort, invest in a high-quality suspension system rather than budget options.


Option 3: Larger Tires

Bigger tires instantly add ground clearance by increasing the distance from the ground to your axles.

  • Ground Clearance: Every extra inch of tire diameter gives roughly half an inch of added clearance.

  • Ride Quality: Larger tires with higher sidewalls provide better cushioning, but oversized, aggressive mud tires may be noisier on the highway.

  • Cost: $1,000+ for a set of quality off-road tires and wheels.

Great for balancing clearance and comfort if you choose the right tire for your terrain.


Option 4: Skid Plates and Underbody Protection

While not technically raising clearance, skid plates help you “fake it” by protecting vital components.

  • Ground Clearance: No actual lift, but protects oil pans, transmissions, and differentials when clearance runs out.

  • Ride Quality: No impact on comfort or handling.

  • Cost: $200–$800, depending on material and coverage.

This option is a must-have for serious off-road builds that want to avoid damage without compromising ride quality.


Tips for Balancing Clearance and Comfort

  • Avoid cheap lift kits—invest in quality suspension to keep the ride smooth.

  • Match your tire choice to your driving style (all-terrains for daily drivers, mud-terrains for trail rigs).

  • Consider incremental upgrades—a small lift plus bigger tires often gives better results than one extreme modification.

  • Don’t forget alignment and shocks—these make a huge difference in ride quality after modifications.


Ride High, in Comfort

Improving ground clearance doesn’t mean you have to sacrifice ride quality. A smart combination of suspension upgrades, slightly larger tires, and underbody protection can give you the clearance you need for off-road trails while keeping your truck comfortable on the highway.

👉 At our shop, we carry everything from leveling kits and suspension systems to wheels, tires, and skid plates—so you can build a truck that’s both trail-ready and daily-driver approved.

Comments (0) details

Off-Road Lighting Guide: Spot vs. Flood vs. Combo Beams Explained

When you’re out on the trail after dark, your headlights alone won’t cut it. Off-road lighting is essential for safety, visibility, and performance. But with so many options—spot beams, flood beams, and combo setups—it can be tough to know which is right for your truck.

Each lighting style has a unique purpose, and the best choice depends on how and where you drive. This guide breaks down the differences so you can choose the setup that gives you the clearest view on every adventure.


What You’ll Learn in This Guide

In this article, we’ll cover:

  • The purpose and function of spot beams, flood beams, and combo lights.

  • How each lighting style impacts visibility, distance, and spread.

  • The pros and cons of each beam pattern for different off-road conditions.

  • Practical tips for choosing the right lighting setup for your truck.

By the end, you’ll know which lighting solution—or combination—is right for your build.


Spot Beams

Spot lights are designed to project a narrow, focused beam of light over long distances.

  • Utility: Great for high-speed off-roading, desert runs, or spotting obstacles far down the trail.

  • Beam Pattern: Narrow, with high intensity—ideal for long-range visibility.

  • Aesthetics: Typically mounted on bumpers, light bars, or roof racks for an aggressive look.

  • Pros: Excellent distance coverage, improves reaction time at speed.

  • Cons: Poor side coverage; won’t help much with close-range visibility.


Flood Beams

Flood lights spread light across a wide area, illuminating more of your surroundings at close to mid-range.

  • Utility: Perfect for crawling, camping setups, or trail situations where wide visibility matters more than distance.

  • Beam Pattern: Broad, covering a wide field of view.

  • Aesthetics: Often mounted low on bumpers, A-pillars, or rear racks for area lighting.

  • Pros: Great peripheral visibility, ideal for slow speeds and work lighting.

  • Cons: Limited throw distance; less effective at high speeds.


Combo Beams

Combo lights combine both spot and flood patterns in a single housing, giving you the best of both worlds.

  • Utility: Balanced solution for trucks that see a mix of trail conditions.

  • Beam Pattern: Central spot beam for distance, with side flood optics for width.

  • Aesthetics: Common in light bars and higher-end pod lights, adding both function and style.

  • Pros: Versatile, eliminates the need to choose one or the other.

  • Cons: More expensive, may not be as specialized as standalone spot or flood lights.


Choosing the Right Lighting Setup

The best off-road lighting setup depends on your driving style and environment:

  • High-Speed Trails (desert runs, wide open spaces): Spot beams shine here.

  • Rock Crawling or Slow Technical Driving: Flood beams give the visibility you need.

  • Mixed Use Builds (daily driver + off-road): Combo lights strike the right balance.

For serious off-roaders, combining multiple types—such as a roof-mounted light bar with combo beams and bumper-mounted floods—is often the ultimate solution.


See Where You're Going

Off-road lighting is more than just a cosmetic upgrade—it’s a performance and safety essential. Spot beams, flood beams, and combo lights each have unique strengths, and the right choice depends on your terrain and driving habits.

👉 At our shop, we carry spot, flood, and combo lighting solutions from trusted brands—so whether you’re hitting high-speed desert trails or crawling rocky paths, we’ve got the perfect setup for your truck.

Comments (0) details